Nexus2:安装、配置
跳到导航
跳到搜索
关于
【以下使用 Nexus OSS 3.x 版本】
安装
安装:
- 下载:
- https://www.sonatype.com/thanks/repo-oss?submissionGuid=35aa362b-077c-455b-b7b1-c77b3244c94e,获取压缩包(如:“nexus-3.36.0-01-win64.zip”);
- 解压:
- 到目录(如:“D:\Program Files\Nexus”),包含两个文件夹“nexus-3.36.0-01”、“sonatype-work”;
- 注册服务:
# 在“./nexus-3.36.0-01/bin”目录
nexus.exe /install Nexus3
- 如果提示“Could not open SCManager”,则需要:以管理员身份运行 cmd,然后重新执行。

配置:
- 端口配置:“./nexus-2.14.20-02/conf/nexus.properties”;(默认 8081)
- (其他配置:“./nexus-2.14.20-02/bin/jsw/conf/wrapper.conf”);???
启动:(两种方法)
- 启动需要几分钟的时间;
- 通过服务:启动注册的服务即可;
- 通过命令行:
# 在“./nexus-2.14.20-02/bin”目录
nexus.exe /run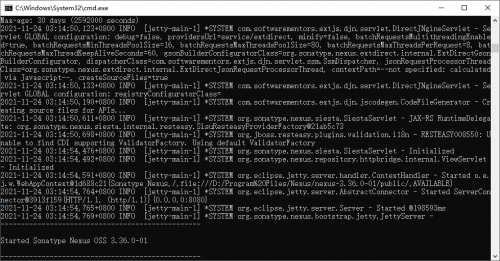

访问:
- 默认的用户名/密码:admin/admin123
服务管理
Nexus 2 通过以下命令管理其服务:
# 安装
nexus.exe /install <service-name>
# 卸载
nexus.exe /uninstall <service-name>

# 启动
nexus.exe /start <service-name>
# 停止
nexus.exe /stop <service-name>

# 状态
nexus.exe /status <service-name>
- 命令均在安装目录(“./nexus-2.14.20-02/bin”)执行。
更新
升级:Nexus 2.x 到 3.x
参考: